Under-Cabinet Lighting: A Practical Buying Guide for Kitchens and Workspaces
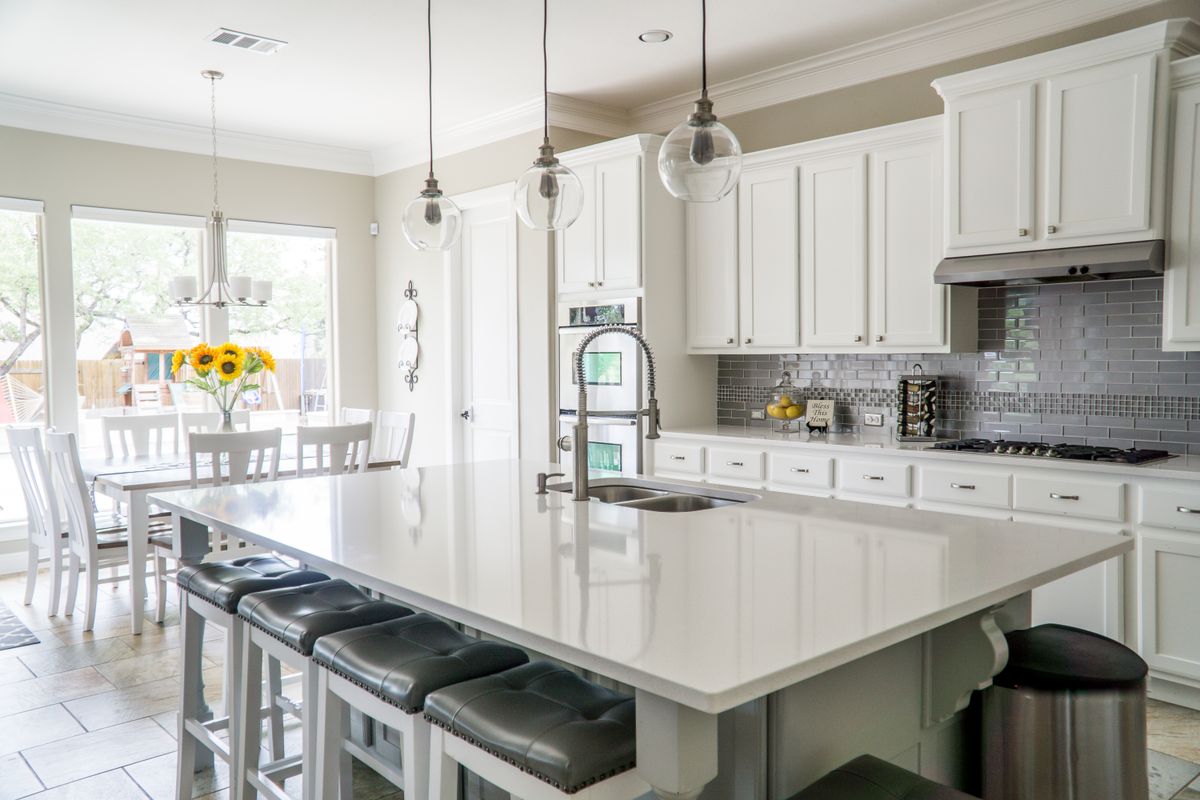
Most kitchens have the same problem: a ceiling light behind you casts your own shadow straight onto the counter where you are chopping. Under-cabinet lighting fixes that by putting light where your hands are. It is one of the cheaper home upgrades that changes how a room feels every day, but the options vary more than the product photos suggest.
Power: the first decision
Battery-powered puck lights and bars need no wiring and take minutes to install. They suit renters and dark corners far from an outlet, but you will be recharging or replacing batteries, and output is usually lower.
Plug-in LED bars and strips run from a nearby socket. They are brighter and maintenance-free, but you need a tidy route for the cable and an outlet close enough to reach.
Hardwired fixtures connect to your home wiring and can be controlled from a wall switch. They give the cleanest result and are the right choice in a renovation, but in most places they should be installed by a qualified electrician.
Colour temperature and colour rendering
Colour temperature is measured in kelvin. Around 2700K to 3000K gives a warm white that matches most living spaces; 4000K is a neutral white many people prefer for food preparation; 5000K and above reads as cool and clinical. Several products let you switch between temperatures, which is useful if the kitchen doubles as a dining area in the evening.
Look for the CRI (colour rendering index) as well. A CRI of 90 or higher makes food, wood and paint colours look closer to how they appear in daylight. Lower CRI lights can make raw meat or vegetables look slightly off, which matters more than you would expect in a kitchen.
Brightness and coverage
Brightness is listed in lumens. Rather than chasing the highest number, think about coverage: a continuous bar or strip gives even light along the counter, while individual puck lights create pools of light with darker gaps between them. For task lighting, aim to cover roughly two thirds of the cabinet length and place the fixture toward the front edge of the cabinet underside so the light falls on the work surface instead of the backsplash.
Controls
- Motion sensors are handy in pantries and for late-night water trips, less so if you stand still while cooking.
- Dimmers let the same lights serve as task lighting and soft evening lighting.
- Linkable bars let several fixtures share one plug and one switch, which keeps installation tidy.
- Smart control through an app or voice assistant is convenient but adds another device to keep updated.
Installation details
Measure the inside depth of the cabinet frame lip; a deep lip hides the fixture from view at standing height. Check whether the bars mount with adhesive, screws or magnets — screws are the most permanent, adhesive is easiest to reverse. If you choose a diffused lens, you will avoid seeing individual LED dots reflected on a glossy countertop.
Bottom line
Decide on power first, then pick a neutral-to-warm colour temperature with a high CRI, and plan the coverage so the light lands on the counter. Those three choices matter far more than any single feature on the box.